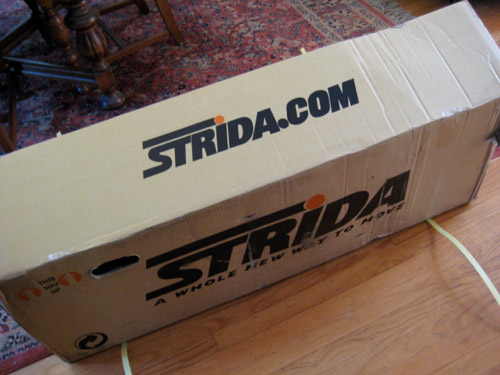
When you first open your new STRiDA Folding Bike, you’ll see a nearly fully assembled bicycle that’s almost ready to ride. Just the seat and rear rack need to be installed. Here’s some helpful tips, diagrams and photos to help you properly install your STRiDA seat and rear rack!
Though it’s a simple process, attaching the seat post and carry rack can be a bit tricky. The seat post is made up of two pieces of plastic that wrap around the frame. Start by slipping the frame over the bottom of the seat post and then guiding use your finger to guide the leading edge of the seat post onto the frame.
The seat height has multiple fixed heights you can select. On the bike frame is a pin that fits into one of several notches on the seat post. The notch you select will determine the seat height. The pin can be screwed into a second hole in the frame for even more height adjustment. You’ll need a small allen key to unscrew the pin from the frame.
Once you have the seat set at the height you want, attach it to the frame using the allen head screws, a nut (for the carry rack) and 2 chromed bands with lock nuts attached.
If you encounter any problems, don’t hesitate to contact me.


